Showing posts with label tutorial. Show all posts

Wednesday, March 16, 2011

China Cabinet Facelift

I have never painted a piece of furniture.

Never.

I have always envied those who have the guts, the gall, the bravado to try to paint furniture.

I am now one of "those" people!

And the greated part of it is, I DIDN'T RUIN THE FURNITURE!

Let's start this "mock-tutorial" with a before shot:


This china cabinet, along with a table and six chairs, was generously given to the Mr. and I shortly after we were married. It's never really been our style, per se, but there has been a lot of bread broken with friends and family over this table.

I found a fantastic, inspring tutorial Here (By the way, LOVE her blog!)

Here is the tutorial step-by-step:

1. Breathe deeply. You CAN do this!

2. Head to Sherwin Williams and get:

Sherwin Williams Oil Enamel in Satin Finish in your color (1 qt was enough for this piece - 3 coats). Enamel is the key word here. Apparently, you can do latex paint, as well, if you get enamel finish. I wasn't taking any chances, so I used oil enamel.


Medium grade sandpaper and a sander just like the picture above. Don't get a soft sander. This will be to distress your finished product.

Buy a GOOD paintbrush. I spent about $15 for a specifically "oil" paintbrush.

Mineral Spirits (to get the paint off).

Plastic covering for the floor.

Minwax Polyurethane - oil based. This is optional. I did not use it for this china cabinet, but I will for the tabletop. I think it will help with the wear and tear of the tabletop.

3. Set your plastic covering on the floor, under the furniture.

4. Lightly sand the furniture. Just enough to get the sheen off - this gives the paint something to "stick to".

5. Open a window. Oil based paint stinks, and lingers. Having the windows opened, listening to the outside noises of spring really helped make me in a good mood...maybe it was the paint fumes? :)

6. Here's where my experience and the Clover Lane tutorial differs: Brush on a thin coat of paint. If I tried to go too thick, it looked AWFUL. I ended up doing three very thin coats. Part of it could be that I used an antique white color over wood grain. I was so nervous about painting furniture that I didn't want to take any chances...so, three coats it is!


These photos were taken after the first coat. This is also when the Mister saw it for the first time...and HATED it. Gah! That's not good!

And...yes...I forgot to unload the inside of the cabinet...I wasn't painting in there yet, so I neglected to empty its contents. Hee hee...not exactly a professional painter, am I?

After the third coat of paint, the piece looks amazing. I am very proud of myself, I did it!

Here she is, in all her glory...


Oh...and now the hubby LOVES it! (Whew!) He said that it's "so much better than I thought it was going to be". Vote of confindence for me? Not so much...but I have now proven myself and he is gaining confidence in my abilities, too! :)

Now...

I need some advice.

What should I do with the inside of the cabinet?

Should I paint it? Paint it another color (there is no lighting)?
Put up beadboard on the back?
Leave it alone?

Should I distress the edges?

Help me, please, you wonderful, talented readers!

:)

Sunday, March 6, 2011

Spring Flowers - A Cheap Tutorial

First, let me confess my, like many-a-mother's, addiction to Target. AND their Dollar Spot!

We were there this morning and I saw these mixing bowls:


Don't they look like flowers? So cute!

Spring is right around the corner...so is Easter. These colors scream Easter and Springtime to me. I'm going to make some lovely flowers to hang on our Playroom wall!


Knowing that the paint would be super-easy to peel off when I'm ready to take the flowers down, I chose Tempera Paint. If you wanted these to be permanent flowers, you would want to use different paints and scuff up the inside of the bowls, too.


Pour Tempera paint into bowls.

I tapped and rotated the bowls so that the paint would spread into the grooves...not exact and not always pretty, but I wanted them to look at home in the Playroom.


Let the paint dry. It's on plastic, so it takes a L..O..N..G time! (Over 24 hours)

I "Jimmy-Rigged" the backs so that I can see how they hang on the wall. I will have to decide on more long-lasting ideas when I decide if this wall is their "forever home".


I also changed my mind about the different colored centers. I think I like them better yellow.

So...inexpensive and cute!


Monday, February 28, 2011

Making my Own Yogurt - Try #3

Tonight, I am going to try to make my own crock pot yogurt.

Again.

For the third time.

If I fail (again), I am officially a yogurt flunkie.

This recipe has been floating around the internet for eons. I'm going to tweak it a bit, to try and get the desired effects...yogurt, not just smelly milk.

What you need:

1/2 gallon of whole milk
6 oz yogurt with LIVE cultures
Crockpot


1. Pour the milk into the crockpot (slow cooker).

2. Cook on LOW for 2 1/2 hours.


3. Turn off slow cooker.

4. Let milk sit until it is 110 degrees F. (About 2 - 2 1/2 hours).

5. Whisk in 6 oz. yogurt.


6. Wrap in thick towels/Down vest I had lying around.


7. Leave overnight. (About 6 hours).


8. Jump up and down, screaming like a loon because
It worked!!!

:)

It's gonna be a good Monday, ya'll!


Tuesday, February 22, 2011

ReCycled Crayons -- Into Muffins?

This tute is an oldie, but a goodie.

Re-cycling your old, broken, nubby crayons into "new" and different ones.


1. Grab your box of broken crayons and a tiny muffin tray.


3. We took the "safe and boring" way out and matched all the like colors together (eg. reds and reds, etc)


4. Peel the paper off the crayons and break them into smaller bits so that they fit into the tiny molds. You can either do like colors or mix and match them to make rainbow-esque crayons.


5. Put the tray into a 250 degree oven and bake until the wax is all melted. It took about 20 minutes for us.


6. Allow to cool AT LEAST an hour, I found the longer the cooling time the better.
7. Pop out of the molds.


8. Have your three year old now decide they are "too pretty" to color with...and turn them into muffins for your tea party! :)
 

Monday, February 21, 2011

Felt Board - A Diaper Box Up-Cycle

I am craft-challenged, at least artistically. I can't draw, I can't paint and I can't draw a straight line.

That's tough when you have all these great ideas for things to do with your toddlers.

Today, I decided to make a felt board.

Without drawing a thing.

From a diaper box.


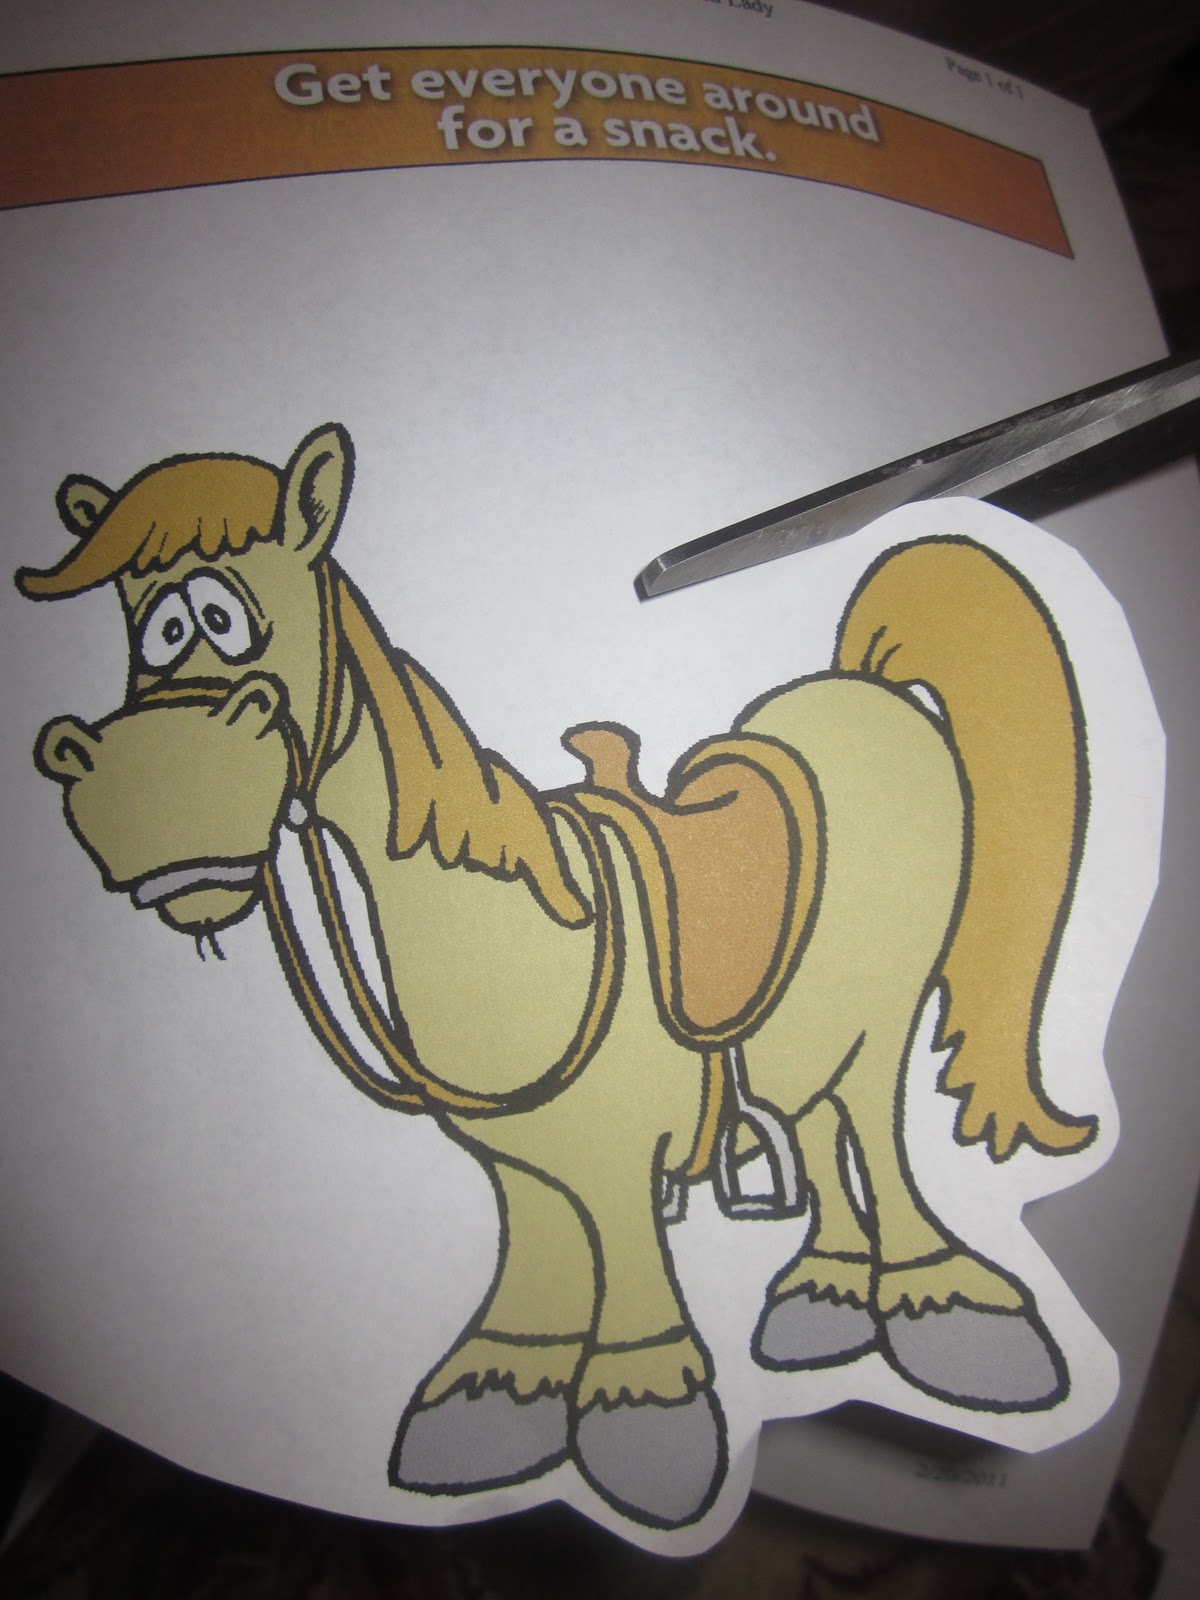
They have an awesome assortment of felt board stories to cut out.

1. Print out (or draw, if you are so inclined and talented) your pictures.

2. Cut out the pictures.


3. Glue the paper pictures onto felt. Any color.


4. Cut out the picture on the felt. (or, if you're lucky, let your incredibly good-looking hubby and princess of a daughter help you).


5. Cut off the sides of your diaper box. Make sure you include the top and bottom flaps. You will have 2 pieces when done.


6. Glue the 2 pieces together. I glued the cardboard sides facing each other...I thought they might stick together better that way.


7. Now, take a big piece of felt (they sell them at craft stores for about $2.99) and wrap it around you double-strength cardboard.

8. Glue into place.


8. Flip over and admire your handiwork.


9. Watch your darling Little Miss re-enact every song and story you have told to her today! Isn't learning amazing to watch? - you can almost see the lights turning on...


Linked to these lovely blogs: Skip to My Lou, Between Naps, DIY Showoff

Sunday, February 13, 2011

A Baby Gate - Fancified!


Yuck.

As the mother of toddlers, I have these little beauties all ove the house.

I suppose I should be grateful. They have protected my children from harmful things that I leave lying around the house. And, they have protected my things from my children, too.

But...they are SO ugly (and get uglier over time...please reference the lovely electrical tape job in the photo above.)

So, I thought I would "fancify" the gate that is seen as soon as you walk through my front door. The gate to the dining room.

What you need:

Measuring Tape

Box Cutter

Foam Poster Board

Spray Adhesive

Scrapbook Paper

Stapler 


  1. I measured the sides of the baby gate that I wanted to cover up
  2. Using a box cutter, I trimmed the foam poster board to the right size.
  3. Spray adhesive to the poster board.
  4. Stick scrapbook paper to poster board.
  5. Trim scrapbook paper to fit poster board.
  6. Staple gun the poster board to the baby gate on the opposite side than the adjustable arm. 
All Done!


Before
After

**Word of advice - I used foam poster board. It was a smidge too thick, I think. A regular poster board would work just fine. If you would rather use the foam, you just have to unscrew the gate hinges and re-screw them with the gate in the correct position**

I would love to see your finished project!

Thursday, February 3, 2011

Valentine's Day Bark

Candy. Everywhere. A benefit of Valentine's Day.

Yummy!

Little Miss and I decided while the Littelests were napping today that we would make some Valentine's Day bark.

We used:

1 bag Wilton's Melting Chocolate (white)
1 bag Dollar Tree Valentine's Lollipops
Cookie sheet


1. Take all the lollipop sticks and wrappers off the hard candies.

2. Put hard candies in a big Zip-loc baggie.


3. Smash candies into bite-sized (we made them smaller) bits. Put aside.


4. Put Wilton's melting chocolate in a microwave safe bowl.


5. Microwave until smooth and creamy in 30 second intervals. It took about 75 seconds in our microwave.

6. Pour melted chocolate onto cookie sheet and smooth with the back of a spoon.

7. Sprinkle hard candy bits on top. Little Miss became a pro at this.


8. Lick spoon.

9. Allow chocolate time to cool.

10. Break into bark-like bits.

11. Enjoy!


Monday, January 31, 2011

Play Make-Up (Without the Goo)

Here's a fun little idea I found on Meet the Dubiens blog. Play make-up!

Almost every play make up set that I have looked at for Little Miss has some sort of goop, slime, clear or sparkly smearing madness that gets all over everything. No.thank.you.

This idea is simply genius! NO mess! Cheap! Fun! And...let's her imagination go crazy...always an added bonus.

What you need:

Either old make-up containers (eye shadow, blush, powder) or new, cheap ones
Nail polish in bright colors

I went to Dollar Tree and got some make-up (all this for $10)

1. Wash out your makeup containers and dry well.


2. Pour you nail polish s.l.o.w.l.y into each trough. Be sure to pour slowly so that little mixing balls don't fall out of the bottle. Fill each trough about 3/4 the way full. When the nail polish dries, it shrinks to about half it's size.


3. Let the nail polish dry at least 24 hours with the lids open. The nail polish smell will last between 48-72 hours (mine lasted about 48 hours).


4. Play with your little girl and remember how much fun it is to be child.

Little Miss sat next to me this morning, putting on her make-up. She had so much fun! She also put make up on while I made her lunch and dinner! :)

So, what do you think about this idea? So fun!

linkparty